Living in a bustling city like Chicago often means grappling with limited square footage. Maximizing every inch of your living space can be a huge challenge. Whether you're a young professional in a cozy studio apartment or a growing family seeking to optimize a multi-functional home office, the need for versatile, space-saving furniture solutions is crucial.
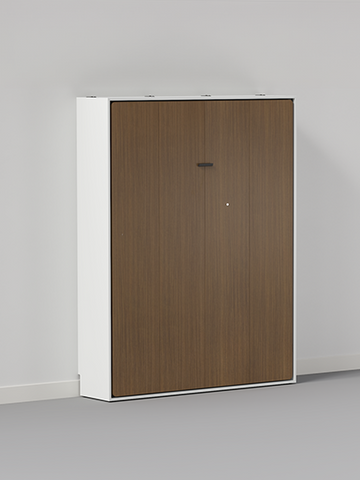
Enter The Lori Bed—a revolutionary Murphy bed that solves your space woes. These modern custom wall beds, also known as convertible beds or folding beds, elevate the aesthetic of your Chicago abode.
Key Takeaways:
- Transforming your living space with a versatile and space-saving Murphy bed can be an exciting project.
- Chicago pull-down beds offer a practical solution for small apartments, guest bedrooms, and multifunctional living areas.
- Knowing the proper custom wall bed installation process ensures a successful transformation of your room.
INDEX
Understanding The Lori Bed's Design
Step 1: Preparing for Installation
Step 2: Assembling The Lori Bed Platform
Step 3: Assembling the Wall Cabinet
Step 4: Integrating the Platform and Cabinet
Parting Thoughts
Understanding The Lori Bed's Design
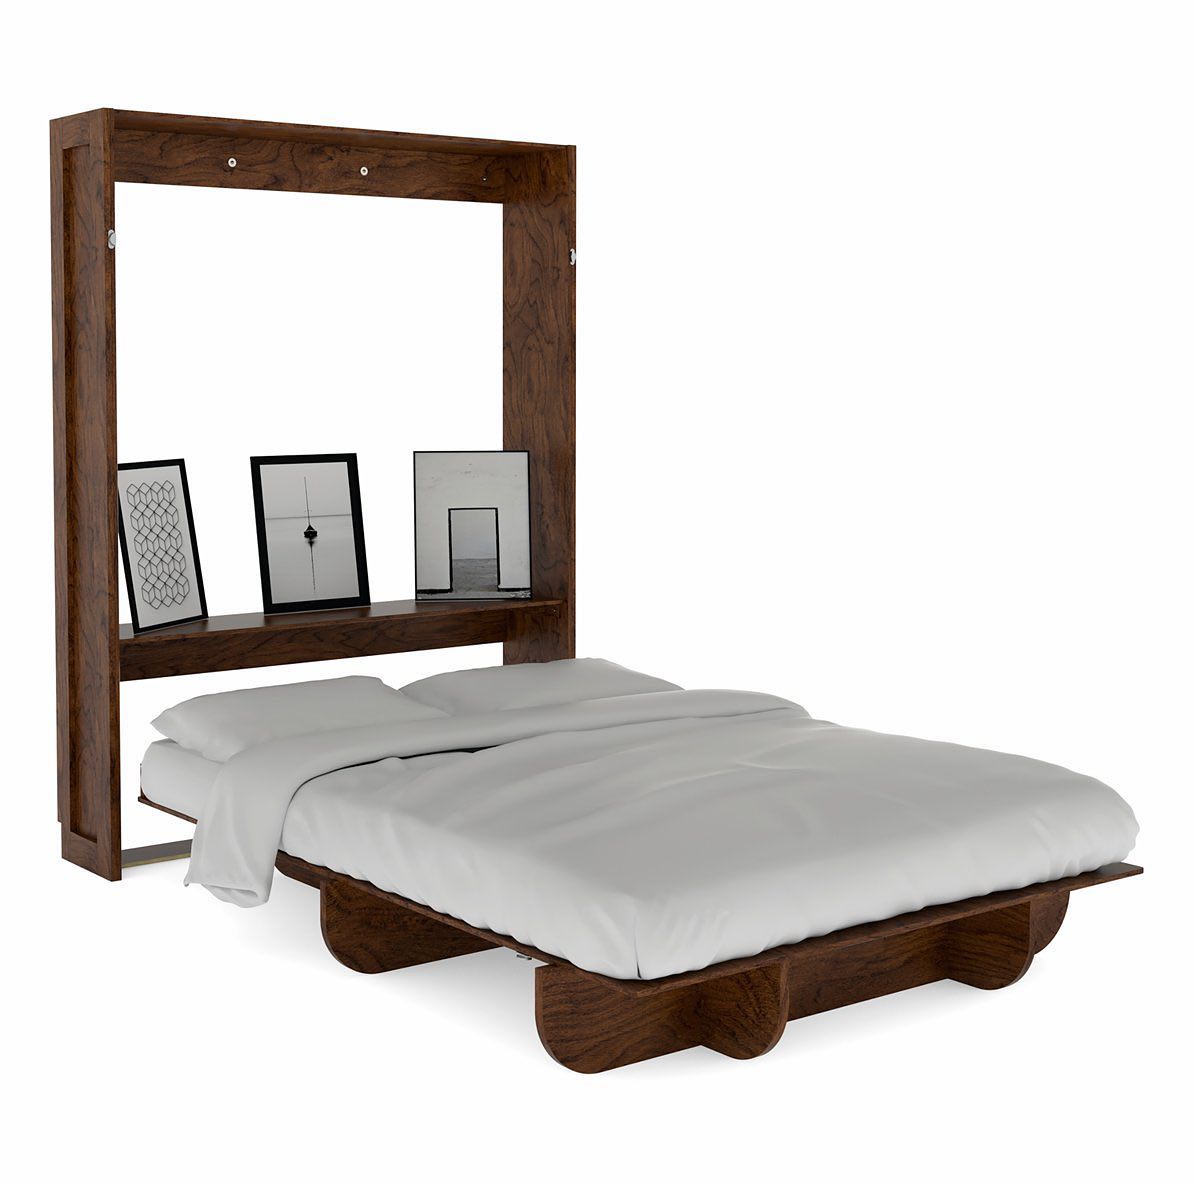
The Lori Bed is a meticulously engineered marvel designed to redefine the Murphy bed experience. Unlike traditional fold-down beds or hidden beds that rely on complex lifting mechanisms, The Lori Bed's innovative design utilizes a simple, detached platform that glides effortlessly up and down.
Streamlined construction
At the heart of The Lori Bed's appeal is its streamlined construction, which eschews the bulky, cumbersome components often associated with traditional wall-mounted beds.
The Lori Bed is crafted from high-quality, cabinet-grade Poplar plywood. It boasts an unparalleled combination of strength and durability. It can easily support up to 1,000 pounds without compromising its sleek aesthetic.
Integrated functionality
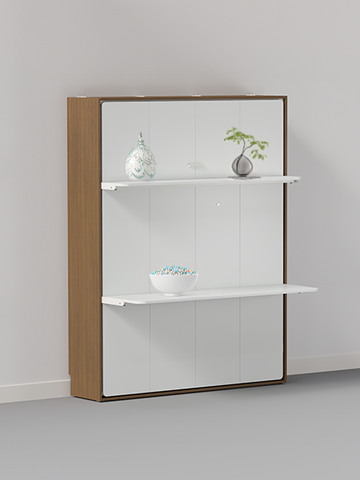
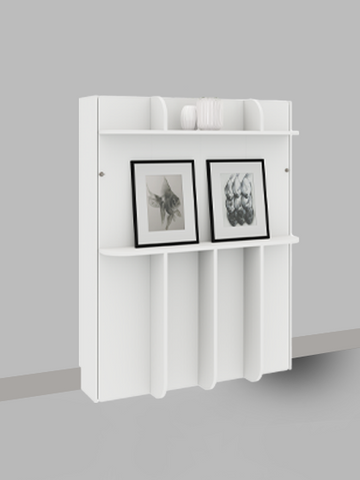
The Lori Bed's seamless integration of functionality sets it apart from other hideaway beds. When the bed is in the upright position, the fold-down headboard shelf and built-in shelving units provide ample storage and display space.
Personalization options
Recognizing the diverse design preferences of Chicago homeowners, The Lori Bed is available in a range of finishes. It also comes in a paint-ready option that allows you to customize your new Murphy bed to perfectly complement your existing color scheme. This level of personalization ensures that The Lori Bed becomes a harmonious addition to your living space.
Limited Time Sale on Murphy Bed
Step 1: Preparing for Installation
This preparation step ensures that you have all the necessary tools and materials on hand.
Gather the essential tools
Installing these cabinet beds requires these tools:
- Phillips head screwdriver
- Adjustable wrench
- Stud finder
- Power drill with a 1/8-inch or 3/4-inch drill bit
- Gloves
Additionally, a rubber mallet or a small piece of dowel rod can be helpful for tapping in the connector inserts.
Review the assembly instructions
Take the time to carefully review the detailed assembly instructions provided by Lori Beds. These step-by-step guides, complete with visual aids, will serve as your roadmap throughout the process.
Identify mounting location
Ideally, you'll want to secure the bed to a wall stud. This will provide the most stable and secure anchoring point. If your wall is made of drywall, you can utilize the toggle bolts provided by Lori Beds to ensure a sturdy installation.
Step 2: Assembling The Lori Bed Platform
With the necessary tools and materials gathered and the mounting location identified, it's time to dive into the assembly process.
Lay out the platform components
Ensure that all the platform components are properly oriented and organized according to the assembly instructions. Pay close attention to the unique pilot hole patterns on each piece. This will be crucial in maintaining the correct alignment throughout the assembly process.
Connect the platform pieces
Using the provided connector screws and inserts, start assembling the platform pieces one by one. Remember to tighten the screws completely. This step lays the foundation for the bed's structure.
Install the mattress retention system
The Lori Bed includes a specialized mattress retention system to prevent the mattress from sliding off the platform when the bed is in the upright position. Follow the instructions carefully to install the L-brackets and mattress strap anchors.
Secure the platform to the wall
With the platform fully assembled, anchor The Lori Bed to the wall. If you've identified a wall stud as the mounting location, use the provided wood screws to secure the platform.
For drywall installations, use the toggle bolts to ensure a secure and stable attachment.
Limited Time Sale on Murphy Bed
Step 3: Assembling the Wall Cabinet
The Lori Bed's signature feature is its integrated wall cabinet. It houses the bed mechanism and provides valuable storage and display space. The assembly of this component requires a bit more attention to detail.
Construct the cabinet frame
Tap the connector inserts into the appropriate holes on the cabinet frame components. Then, using the connector screws, assemble the frame. Make sure to align the pieces correctly as per the instructions.
Attach the shelving and headboard
With the cabinet frame in place, install the shelving units and the fold-down headboard. Follow the step-by-step guide to properly secure these elements. Pay close attention to the orientation of the connector inserts and screws to maintain the desired functionality and appearance.
Mount the cabinet to the wall
Much like the platform, the wall cabinet must be securely anchored to the wall. Utilize the stud finder to locate the optimal mounting points. Then, use the provided wood screws or toggle bolts to affix the cabinet in place.
This step ensures the overall safety of your newly installed Murphy beds.
Step 4: Integrating the Platform and Cabinet
The final stage of The Lori Bed installation process involves seamlessly integrating the platform and the wall cabinet.
Connect the platform to the cabinet
Carefully lift the assembled platform and align it with the wall cabinet. This step may require the assistance of a second person, as the platform can be quite heavy, especially when a mattress is added.
Finalize the locks and straps
With the platform and cabinet connected, install the locking mechanisms and the mattress retention straps. The locks must be functioning properly, and the straps should be adjusted to provide a snug and secure fit for your mattress.
Personalize The Lori Bed
If you've opted for the paint-ready Lori Bed, unleash your creative flair and customize the Murphy bed to perfectly complement the aesthetics of your Chicago home. Apply your chosen paint colors, stains, or finishes, and enjoy the satisfaction of a truly one-of-a-kind piece of furniture.
Parting Thoughts
Transforming your Chicago living space with The Lori Bed is an exciting and rewarding project. By following the step-by-step process for installing these space-saving beds, you can successfully install your new Chicago Murphy beds and enjoy their added functionality and space-saving benefits.
Remember, if you encounter any challenges or have additional questions during the installation process, don't hesitate to reach out to us for guidance.


